To achieve optimal camera stabilization with the Ruko F11PRO 2, utilize smooth, slow movements during filming, keeping your arms steady & close to your body. Engage the drone’s GPS hold feature for stable hovering, & use the smooth flight mode to minimize abrupt motions. Pre-plan your shots & incorporate a gimbal or a handheld stabilizer to enhance stability further. For post-production, employ stabilization software to refine footage. Lastly, ensure the drone is balanced correctly before taking off to promote fluid, professional-looking video results.
Ruko F11PRO 2: Expert Camera Stabilization Tips & Tricks. Discover essential tips for mastering the Ruko F11PRO 2: Expert Camera Stabilization Tips & Tricks. Capture smooth, stunning videos like a pro!
<<<<<<<<< Buy Now from Official offer >>>>>>>>
Understanding Ruko F11PRO 2: Insights Into Its Stabilization Techniques
The Ruko F11PRO 2 presents an innovative approach to camera stabilization. This device utilizes advanced algorithms & gyroscopic technology to minimize unwanted movements. By employing a combination of hardware & software, it ensures smooth video capture even in dynamic settings. The integration of high-quality sensors gives users the ability to shoot stable footage, regardless of environmental factors.
Key features assist in achieving remarkable stability. Specifically, the intelligent flight modes allow for automated stabilization, making it easy for beginners & experts alike. Users will find that the gimbal system plays a crucial role in maintaining this balance. As a result, aerial shots come out clear & professional, enhancing the overall quality of the footage captured.
The Historical Development of Ruko F11PRO 2: Camera Stabilization Technology Over Time
Camera stabilization technology has evolved significantly. Initially, handheld stabilizers emerged as a solution for shaky footage. Over time, innovations led to the development of gimbals, changing the game for aerial photography. Ruko F11PRO 2 builds upon these advancements. It integrates features that make stabilization more efficient.
Throughout its evolution, the Ruko brand focused on affordability without sacrificing quality. The F11PRO 2 stands as a testament to this balance. As users transitioned from basic to advanced drones, Ruko adapted by adding enhanced features intended for smoother captures. Contemporary models now include smart positioning & obstacle avoidance, marking a substantial shift in functionality.
Effective Strategies for Mastering Ruko F11PRO 2: Implementation Techniques for Optimal Stability
Implementing camera stabilization techniques with the Ruko F11PRO 2 requires practice. First, understanding the pre-flight checks ensures that the drone operates smoothly. Users should also familiarize themselves with the control settings before launching. Adjustments can significantly enhance video quality.
In addition, practicing in various environments helps users learn optimal settings. For example, flying in crowded areas may present unique challenges. Practicing in open spaces allows for experimentation. And don’t forget, utilizing the intelligent flight modes enhances filming capabilities, helping users capture stunning footage without manual adjustments.
The Advantages of Ruko F11PRO 2: Why This Model Benefits Users Significantly
The Ruko F11PRO 2 offers users numerous advantages, particularly in camera stabilization. First, its affordability makes high-quality aerial photography accessible. Many competitors charge premium prices, but Ruko delivers exceptional features without breaking the bank.
On top of that, the user-friendly interface simplifies the filming process. Beginners quickly learn how to operate the device, while experienced users appreciate the advanced features. The battery life enhances usability, allowing for longer filming sessions. Each flight produces remarkable footage, thanks to the inherent stability designed into the drone.
Navigating Challenges: Solutions Associated with Ruko F11PRO 2 Stabilization Issues
Challenges do arise when operating the Ruko F11PRO 2. Common difficulties include drift & unexpected vibrations. Drift can occur during windy conditions, impacting footage quality. Users may combat this by remaining aware of weather forecasts & adjusting flying habits accordingly.
And another thing, regular maintenance plays a vital role in mitigating issues. Keeping the motors clean & checking for loose parts can prevent mishaps during flights. When experiencing vibrations, recalibrating the device often resolves the problem. Recognizing potential obstacles before takeoff allows for smoother filming experiences.
Emerging Trends: What Lies Ahead for Ruko F11PRO 2 & Camera Stabilization
Innovations continue to emerge in the drone industry. As technology progresses, Ruko is likely to adopt features that enhance stabilization even further. Upcoming models may integrate AI, allowing for automatic adjustments based on environmental factors.
And don’t forget, advancements in battery technology may extend flight duration significantly. Users can expect improvements in camera quality as well, with higher resolutions & better low-light capabilities. Anticipating these developments can guide users towards making informed decisions about future purchases in aerial photography equipment.
Camera Stabilization Basics for Ruko F11PRO 2
Camera stabilization is crucial in video production. The Ruko F11PRO 2: Expert Camera Stabilization Tips & Tricks help improve video quality. Shaky footage distracts viewers. Stabilization keeps shots smooth & professional. Understanding the basic concepts of stabilization maximizes your footage potential.
Understanding Gyroscopic Stabilization
The Ruko F11PRO 2: Expert Camera Stabilization Tips & Tricks relies heavily on gyroscopic stabilization. Gyroscopes detect motion & counteract it. They allow the drone to maintain a stable shot, even in windy conditions. The key feature is the ability to keep the camera level during movement. Using gyroscopic systems is valuable for smooth video capture.
Using the Right Settings for Stability
Settings affect footage quality significantly. Ensure you adjust your Ruko F11PRO 2 settings before filming. Start with setting the frame rate. Use 30 frames per second for normal footage. Higher frame rates work well in fast action scenes. Adjusting resolution also matters. Aim for 4K if you desire detailed captures. Always double-check your settings for best results.
The Importance of Pre-Flight Preparation
Pre-flight checks are essential for optimal performance. Ensuring the drone & camera are in good condition is crucial. Perform a thorough visual inspection. Look for any signs of wear or damage. Balance your propellers for smoother flight. This setup enhances stability significantly.
Calibration of Gyros
Calibration is another critical step. Calibrated gyros ensure accurate stabilization. Do this process before flying every time. Follow the instructions in the user manual. An uncalibrated gyro leads to shaky footage. Always choose an open area for calibration to avoid interference.
- Check the battery level.
- Inspect the propellers.
- Calibrate the compass & gyroscopes.
Maximizing Flight Conditions
Choosing the right flight conditions impacts stabilization. Windy days can cause instability. Always monitor the weather before flying. Ideal conditions are calm & clear. Mornings or late afternoons often provide the best conditions. Avoiding midday sun can reduce glare. These tips maximize the effectiveness of the Ruko F11PRO 2: Expert Camera Stabilization Tips & Tricks.
Optimal Flying Techniques
Flying technique contributes to stabilization. Smooth & gentle maneuvers lead to better footage. Rapid changes in direction create jerky motion. Practice slow & steady movements for the best results. Turning should be gradual. Rising or descending should also be smooth. This technique helps maintain shot quality.
| Flying Technique | Effect on Footage |
|---|---|
| Slow Turns | Smoother transitions |
| Steady Ascents | Better quality |
| Controlled Descents | Clear & stable shots |
Using Gimbals Effectively
Gimbals enhance stability in the Ruko F11PRO 2. They help maintain a level camera regardless of drone movements. Always check that the gimbal is functioning correctly. Calibrate the gimbal along with the gyroscope. This step is essential for smooth video capture.
Gimbal Modes & Their Usage
Learn about different gimbal modes. Each mode serves specific filming situations. The following modes exist:
- Follow Mode: Follows camera rotation.
- Lock Mode: Keeps the camera aimed at one point.
- Free Mode: Offers complete camera freedom.
Using these modes correctly can enhance your footage quality. Select the mode based on the scene you wish to capture. Always switch modes before changing your shooting perspective.
Post-Production Stabilization Techniques
Some footage may still appear shaky. Post-production stabilization can fix this. Software tools enhance footage clarity. Popular software programs simplify the editing process. Adobe Premiere Pro & Final Cut Pro offer effective solutions. Always examine footage after filming to assess stabilization needs.
Using Editing Software for Stabilization
Editing software features stabilization options. These tools can correct minor shakes. They function by cropping edges of the video slightly. The software analyzes frames, then smoothens them. Care is needed with cropping. Excessive cropping reduces picture quality. Keep a balanced approach to maintain resolution.
| Software | Stabilization Features |
|---|---|
| Adobe Premiere Pro | Warp Stabilizer effect |
| Final Cut Pro | Built-in stabilization |
Battery Management for Longer Flights
Effective battery management prolongs flight time. The Ruko F11PRO 2: Expert Camera Stabilization Tips & Tricks recommend monitoring battery levels closely. Always start with a fully charged battery. Extended flights offer more chances for quality footage. Turn off unnecessary features to conserve battery life. This measure helps achieve optimal filming conditions.
Proper Charging Practices
Proper charging practices increase battery lifespan. Use the original charger to avoid damage. Allow batteries to cool down after use. This cooling period enhances longevity. A healthy battery ensures reliable performance during filming.
- Charge fully before use.
- Allow cooling after flights.
- Store in a dry, cool place.
“Stabilization is key to clear, professional footage.” – Evan Walter
Understanding Frame Composition
While stabilization is essential, composition cannot be overlooked. Good framing enhances visual appeal. Apply the rule of thirds for effective composition. Position important elements along the lines or intersections. This technique results in a balanced & engaging image. Proper composition complements stabilization efforts.
Tips for Framing Your Shots
Execute these simple tips to frame shots effectively:
- Maintain eye level for a natural view.
- Focus on subjects for better storytelling.
- Use leading lines to guide the viewer’s eyes.
These techniques improve shot quality significantly. Combining stabilization & composition ensures top-notch video production.
Utilizing Light Effectively
Lighting truly enhances video quality. Proper lighting helps achieve sharp contrasts. This approach emphasizes stabilized footage. Avoid harsh light sources that create shadows. Overexposure can ruin quality. Soft, even lighting is preferable. Golden hour offers ideal lighting conditions.
Adjusting Camera Settings for Light
Adjust camera settings based on lighting conditions. Modify ISO, shutter speed, & aperture. Maintain a balance to avoid graininess. High ISO levels may introduce noise. A low shutter speed captures motion well, but can blur fast movements. Find a sweet spot for the best results.
| Lighting Condition | Recommended Settings |
|---|---|
| Bright Daylight | Low ISO, Fast Shutter |
| Cloudy Sky | Medium ISO, Medium Shutter |
| Low Light | High ISO, Slow Shutter |
Effective Use of Accessories
Accessories can improve stabilization. The Ruko F11PRO 2 supports lenses & filters. Use ND filters for bright conditions. They reduce light without affecting color. This filter enables longer shutter speeds while filming. Using the right accessories optimizes stabilization efforts.
Tripod Options for Additional Stability
Tripods are useful for ground filming. They provide a fixed point for shooting. Choose a lightweight & portable design for convenience. Mini tripods are great for smaller setups. Ensure the tripod can support your camera weight to avoid accidents.
- Use a gimbal tripod for fluid movement.
- Opt for flexible tripods for uneven surfaces.
- Sturdy full-size tripods are best for stationary shots.
Reviewing & Learning from Footage
After filming, review your footage. Identifying mistakes enables improvement. Pay attention to stabilization & composition. Take notes on successful shots. Observing common errors helps refine skills. Learning from past footage leads to growth.
Audio Considerations for Complete Production
Good audio enriches video content. Use external microphones for clarity. Internal microphones may pick up drone noise. Record audio separately for better control. Sync audio in post-production for professional results.

<<<<<<<<< Buy Now from Official offer >>>>>>>>
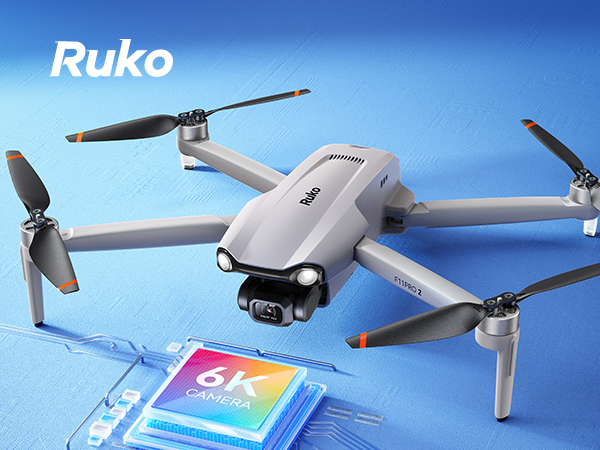
Ruko F11 Pro 2 – 3-axis drone to 10,000 Ft.?
Ruko F11PRO 2: Expert Camera Stabilization Tips & Tricks
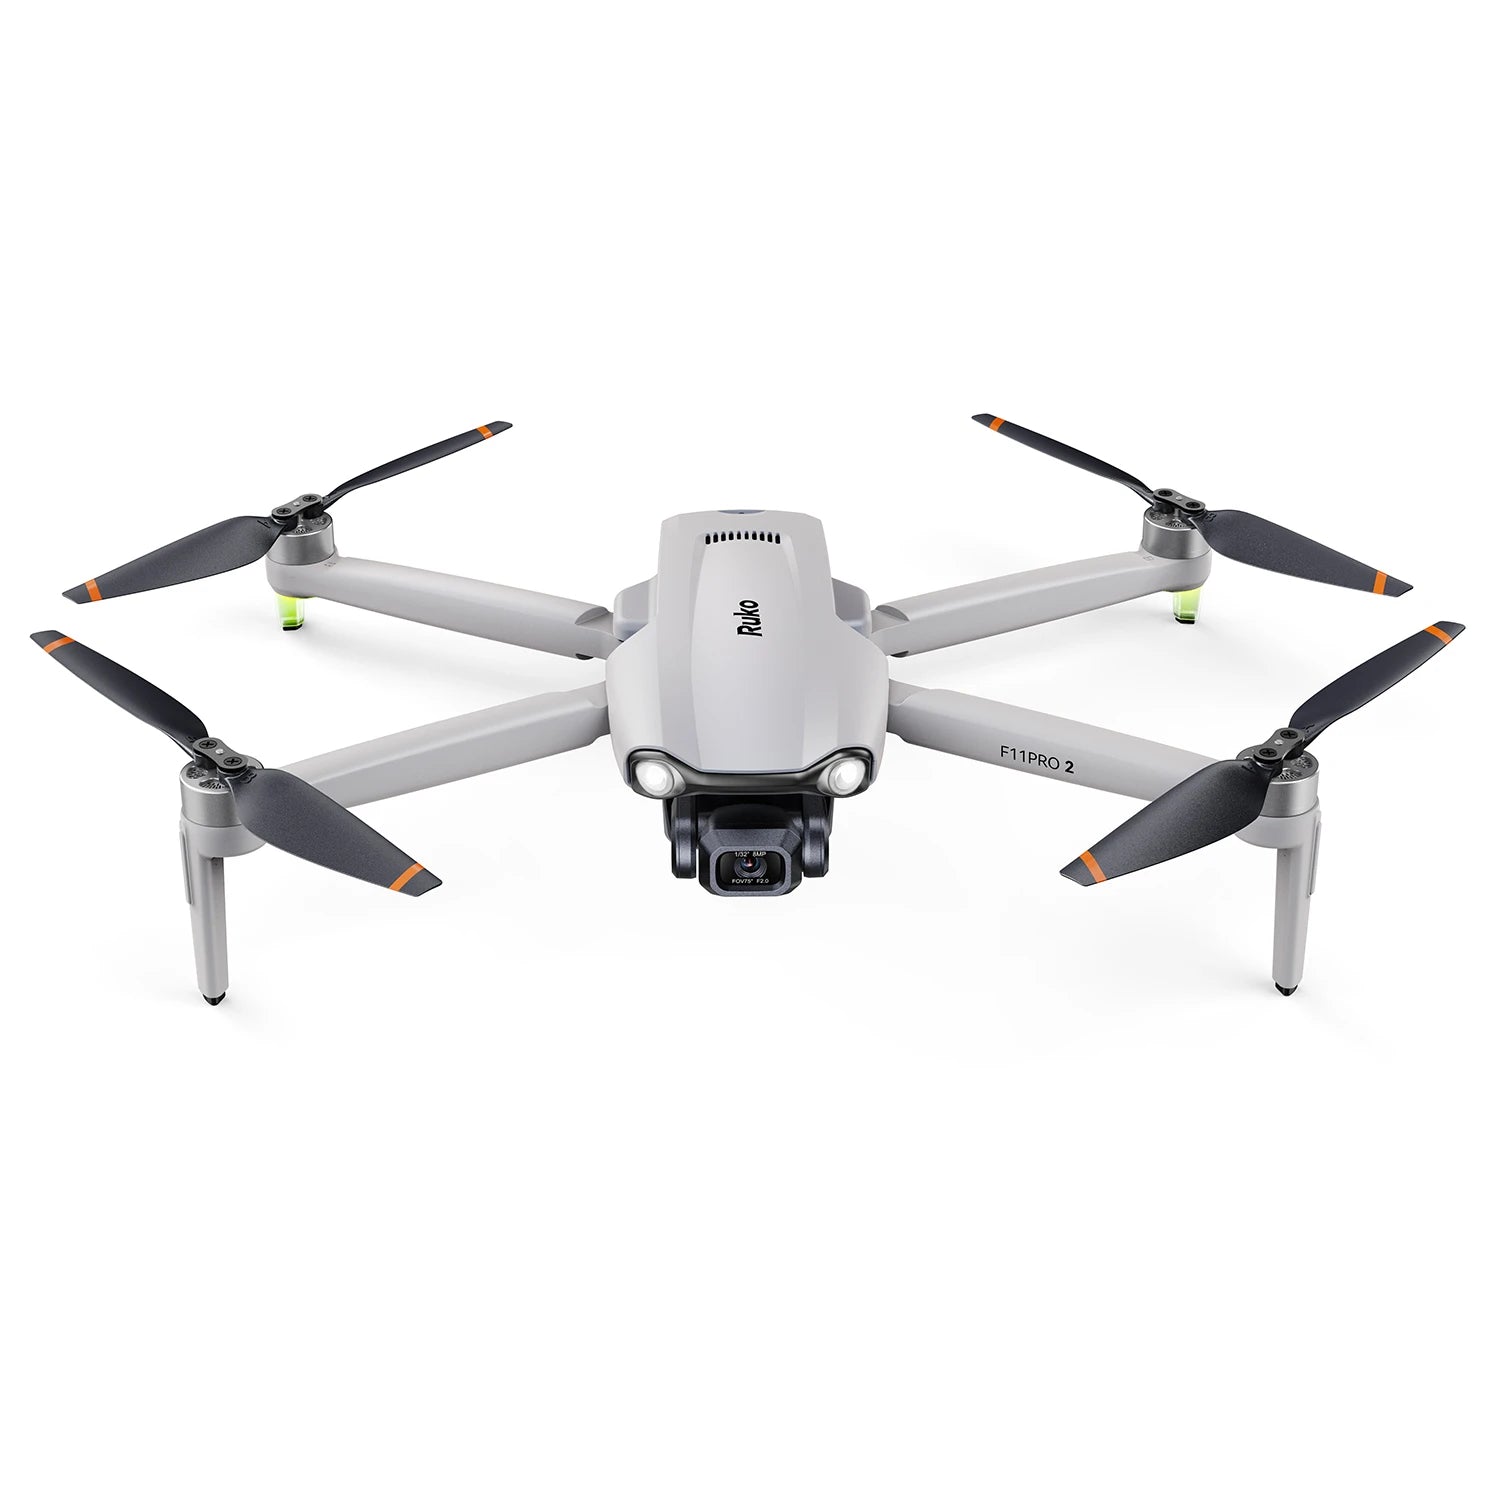
Introduction to Ruko F11PRO 2
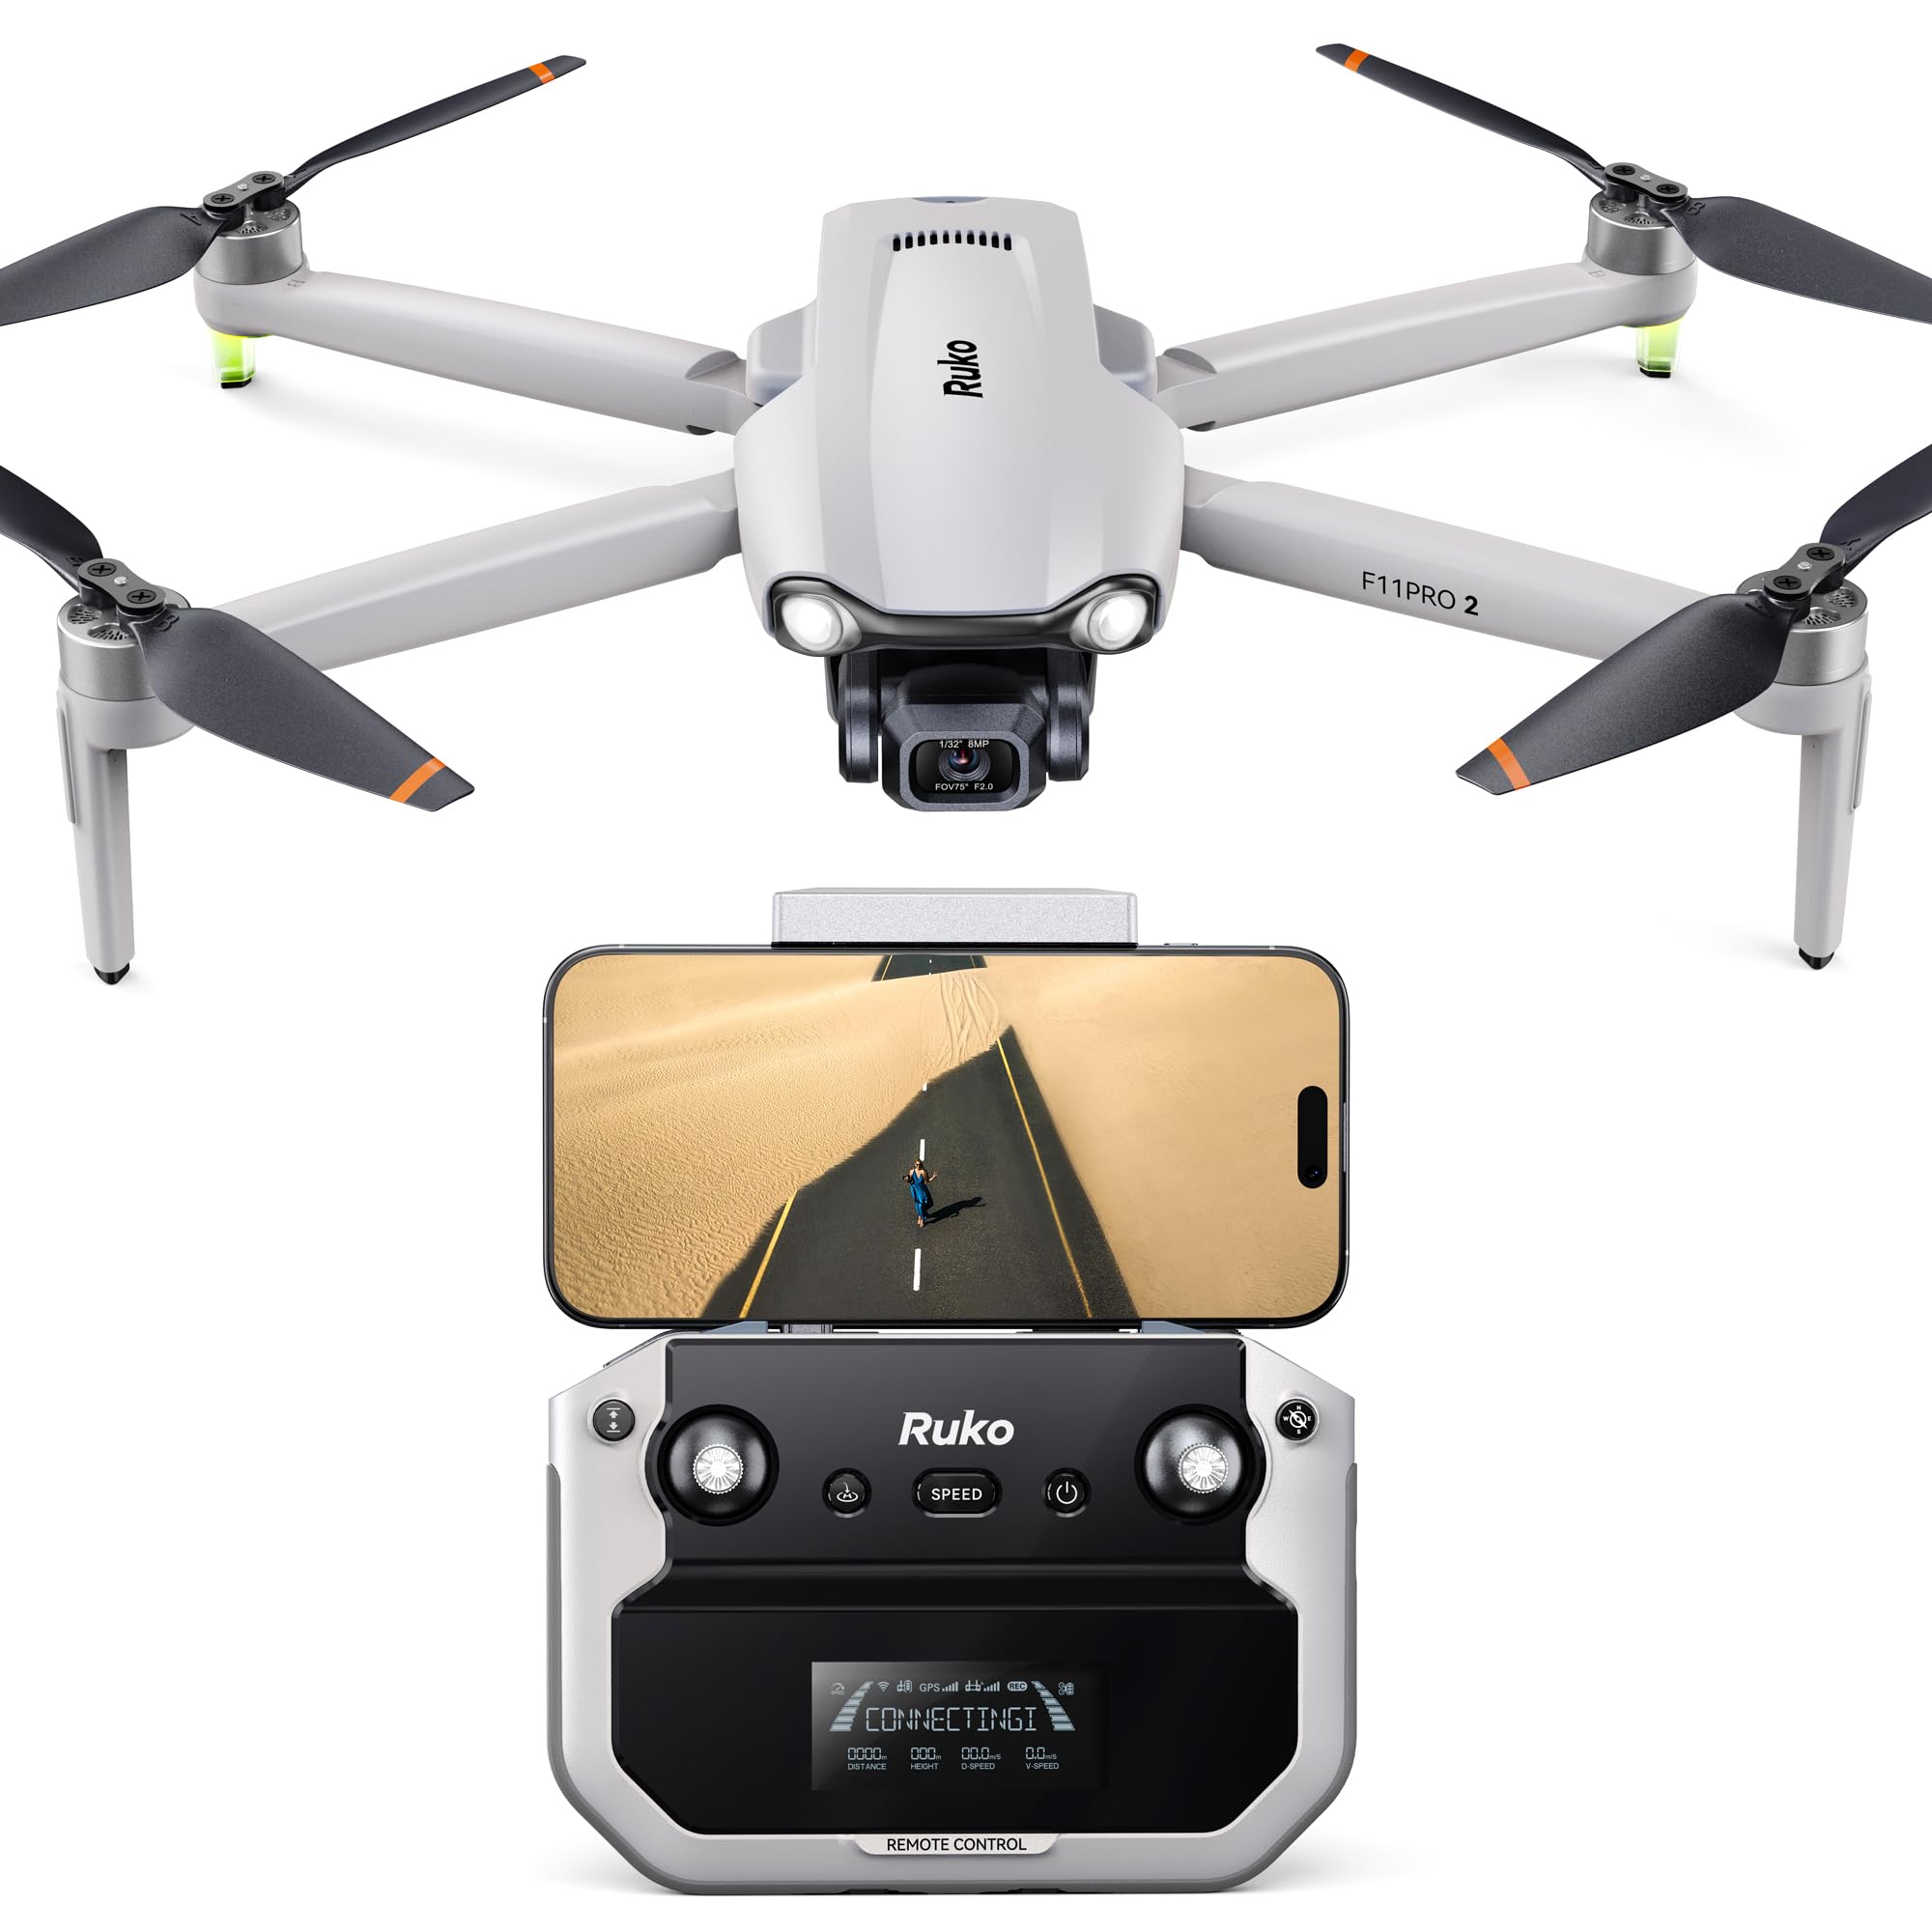
The Ruko F11PRO 2 is a leading drone known for its advanced features. It has an impressive camera & stabilization system. This drone is perfect for capturing high-quality footage. Whether you are a beginner or a pro, the F11PRO 2 can meet your needs. It combines ease of use & quality performance.
Key Features of Ruko F11PRO 2
| Feature | Description |
|---|---|
| Camera Quality | 4K camera for stunning imagery. |
| Stabilization | Advanced 3-axis gimbal stabilization. |
| Flight Time | Up to 30 minutes of flight. |
| Range | Transmission range of 1,500 meters. |
Importance of Camera Stabilization
Stabilization is key for great video. Shaky footage can ruin your shots. The Ruko F11PRO 2: Expert Camera Stabilization Tips & Tricks helps you avoid that. A stable camera helps show clear images. Smooth movements are important in filming. Proper stabilization changes your final product. This is crucial for both amateur & professional videographers. Good stabilization enhances viewer experience.
Types of Stabilization Techniques
Several techniques can help with stabilization. Choose the right one based on your situation. Here are a few effective methods:
- Use of Gimbals
- Post-production stabilization
- Proper camera settings
- Using weight balance
Use of Gimbals
Gimbals are mechanical devices. They help stabilize the camera during flight. The Ruko F11PRO 2 comes with a 3-axis gimbal. This allows for smooth video even when in motion. Proper gimbal settings lead to better results. Always calibrate the gimbal before flight. It keeps your footage steady & professional.
Post-production Stabilization
Sometimes you need to fix footage later. Post-production stabilization software can help. Software like Adobe Premiere & Final Cut Pro have this feature. They can reduce shaky shots & enhance video quality. Always remember to keep the original footage. This allows for better adjustments later.
Proper Camera Settings
Setting up your camera correctly is vital. This includes adjusting frame rates & shutter speeds. A higher frame rate often means smoother video. For instance, a frame rate of 60 fps works well for fast movements. Always match your shutter speed to your frame rate. This helps reduce motion blur.
Environmental Factors Influencing Stabilization
Environment plays a big role in stabilization. Wind & weather can affect your drone’s performance. Check the weather before flying. Strong wind can lead to shaky footage. Always fly on calm days for the best results. Trees & buildings can also interfere with signals. Plan the flight path carefully to avoid obstacles.
Stable Weather Conditions
Flying in clear skies improves stabilization. Ideal conditions include low winds & no rain. Always look for stable weather days. Avoid flying during storms. Good weather means solid footage.
Choosing the Right Location
| Location Type | Effects on Stabilization |
|---|---|
| Open Areas | Less interference, smooth flights. |
| Urban Areas | Signal obstacles may disrupt footage. |
| Forested Areas | Wind patterns may be more unpredictable. |
Practicing Techniques for Better Stability
Practicing flying techniques can improve stabilization. Spend time learning how to maneuver your drone. Smooth & gentle movements work best. Quick & jerky movements lead to poor footage. Build your skills over time. This results in better video quality.
Pre-flight Checklists
- Check battery levels.
- Inspect the drone for damage.
- Calibrate the gimbal before flight.
- Test the camera settings.
Flight Training
Practice is essential for drone flying. Use a simulator if available. Flying in a controlled space helps a lot. Focus on smooth transitions & gentle movements. This will aid in capturing better footage. Record flights to review later. Look for areas to improve upon.
Common Mistakes to Avoid
Avoiding mistakes leads to great footage. Here are errors many make:
- Not calibrating the gimbal.
- Flying in bad weather.
- Incorrect camera settings.
- Ignoring battery health.
Not Calibrating the Gimbal
Calibrating is essential before each flight. Skipping this step leads to shaky footage. The Ruko F11PRO 2: Expert Camera Stabilization Tips & Tricks suggest always performing this task. Ensure the gimbal is level & functioning properly.
Flying in Bad Weather
Bad weather causes unstable flights. Wind & rain significantly impact performance. Always double-check weather before flying. If conditions seem questionable, wait for a better day. Your footage will benefit in the long run.
“Understanding your equipment can drastically improve your results.” – Lee Hilpert
Utilizing Accessories for Improved Stabilization
Many accessories can enhance stabilization. Use balanced weights or additional gimbals. These tools help with footage quality too. Always consider your drone’s setup. The right accessories contribute to a better final product.
Weight Balancing Accessories
- Use additional batteries for balance.
- Attach weights if necessary.
Advanced Gimbals
| Accessory | Benefit |
|---|---|
| Handheld Gimi | Stabilization for ground shots. |
| Extended Arm Gimbal | Greater range of motion. |
Real-world Experience with Ruko F11PRO 2
During my first flight with the Ruko F11PRO 2, I faced challenges. The camera shook in windy conditions initially. After using tips shared here, my videos improved a lot. I focused on gimbal calibration & adjusting settings. By practicing consistently, I captured stunning shots. This drone truly excels in remaining stable.
Taking Advantage of Software Features
Many drones come with built-in software features. Utilize these for stabilization. Check for features like GPS stabilization or follow-me modes. These settings can greatly improve your footage as well. Familiarize yourself with the app or control features. Understand how they aid in stabilization.
Using GPS Stabilization
- Helps keep the drone stationary.
- Assists in capturing clearer footage.
Follow-me Modes
Follow-me modes track subjects automatically. This helps maintain a stable shot. Ensure your drone supports this feature. It is especially useful for action shots. Test this mode in a controlled environment first.

What are the best settings for the Ruko F11PRO 2 to achieve steady shots?
To achieve steady shots with the Ruko F11PRO 2, set the camera to a lower ISO level for optimal clarity & adjust the frame rate to 30fps for smoother video. Stabilization mode should be enabled to minimize shake & jitter.
How can I improve stability while using the Ruko F11PRO 2?
Improving stability can be achieved by using the drone in calm weather conditions. And another thing, practice gentle control inputs & consider using a gimbal for extra stability during flight.
What is the importance of controlling speed for stabilization?
Controlling speed is crucial as fast movements can lead to shaky footage. Flying at a moderate speed allows for better control & a smoother overall video quality.
What tips can I follow for shooting in windy conditions?
In windy conditions, keep the drone lower to the ground to reduce wind impact. And another thing, use lower flight speeds & be cautious when turning to maintain stability.
How does practicing flight maneuvers affect stabilization?
Practicing flight maneuvers enhances skill & muscle memory, leading to more controlled movements during actual shooting. The more familiar you are with your drone, the better the stability during complex shots.
Can I use manual controls for better stabilization?
Yes, using manual controls can provide more precise handling of the drone. This control allows for smoother adjustments & can significantly improve stabilization during flight.
What is the role of the drone’s battery life in stabilization?
A fully charged battery ensures that the drone has enough power to maintain stable flight without sudden drops or movements. Always plan flights considering battery status.
Is post-edit stabilization effective if I can’t achieve steady shots in-flight?
Post-edit stabilization can be effective, but it is best to aim for the steadiest shots possible during flight. Relying solely on editing can result in loss of quality & detail.
What types of surfaces are best for landing to ensure stabilization?
Landing on flat, even surfaces minimizes jolt during landing, helping maintain stabilization. Avoid uneven terrain that could disrupt the drone’s positioning upon touchdown.
How can I ensure my Ruko F11PRO 2 is balanced for optimal stabilization?
Ensure the drone is properly calibrated before flights. Check that all components, including the camera & battery, are evenly distributed to prevent imbalance during flight.
<<<<<<<<< Buy Now from Official offer >>>>>>>>
Conclusion
In summary, the Ruko F11PRO 2 makes capturing smooth & stunning footage easier with the right techniques. By using a gimbal, keeping your movements steady, & practicing basic framing, you’ll notice a significant improvement in your videos. Don’t forget to experiment with different angles & settings to find what works best for your style. Remember, practice makes perfect, so the more you film, the better you’ll get. With a little patience & creativity, you can create professional-quality videos that impress your audience. Happy filming, & enjoy every moment with your Ruko F11PRO 2!
<<<<<<<<< Buy Now from Official offer >>>>>>>>